

Solar Charge Controller Manufacturer: Minimizing Environmental Footprint
2024-04-19

(Summary description)Before connecting the battery, make sure the battery voltage is higher than 6V to start the controller. If the system is 24V, make sure that the battery voltage is not lower than 18V.
(Summary description)Before connecting the battery, make sure the battery voltage is higher than 6V to start the controller. If the system is 24V, make sure that the battery voltage is not lower than 18V.
Step 1: Connect the Battery
Before connecting the battery, make sure the battery voltage is higher than 6V to start the controller. If the system is 24V, make sure that the battery voltage is not lower than 18V. The system voltage selection is only automatically recognized when the controller is started for the first time.
Step 2: Connect the Load
The load end of the solar controller can be connected to two DC electrical devices with the same rated working voltage and battery voltage, and the controller supplies power to the load with the battery voltage.
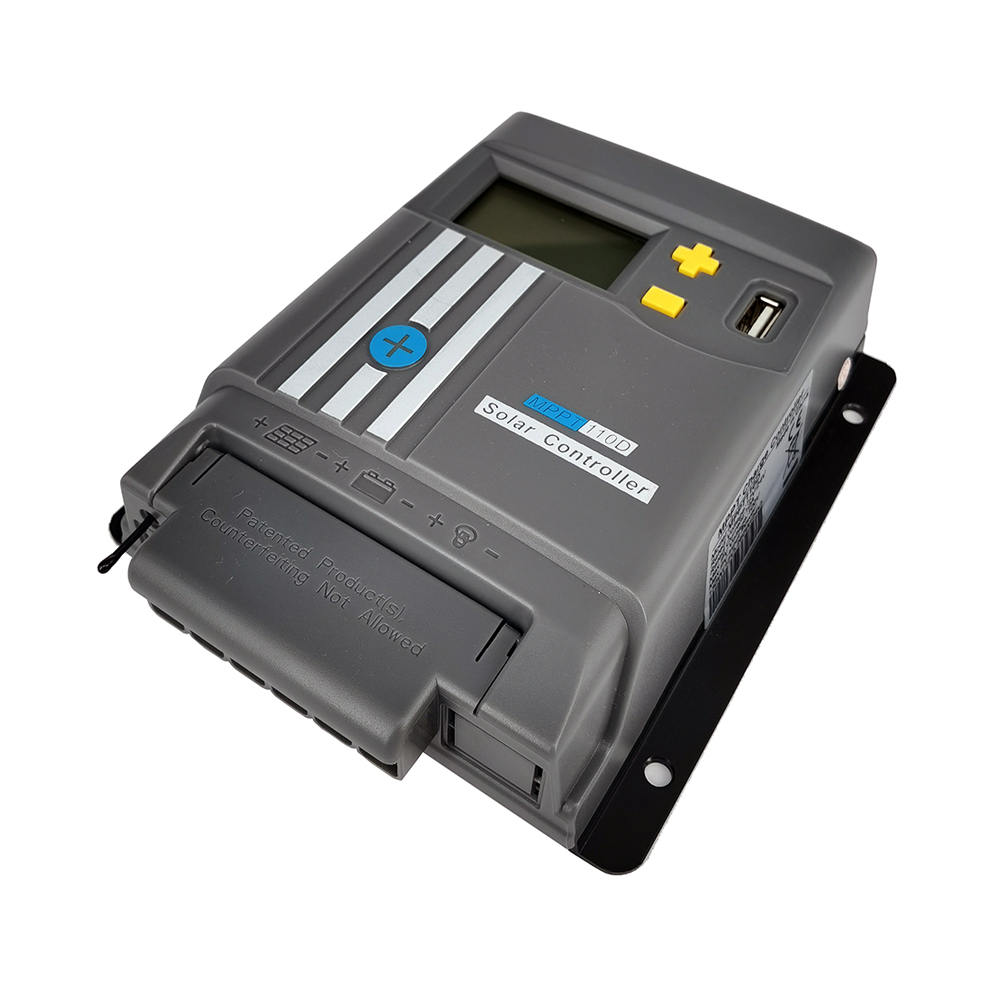
Step 3: Connect the PV Array
The controller can be applied to 12V, 24V off-grid solar modules, and grid-connected modules whose open circuit voltage does not exceed the specified maximum input voltage can also be used. The voltage of the solar modules in the system should not be lower than the system voltage.
Step 4: Check Connections
Check all the connections again to see if the positive and negative poles of each terminal are correct and if all 6 terminals are tightened.
Step 5: Confirm Power On
When the battery supplies power to the controller and the controller starts, the battery LED indicator on the controller will light up, pay attention to observe whether it is correct.


